


That might seem quite intimidating but all you need is some flour, water, love, and a some patience. You’ll be making your own loaves of delicious sourdough before you know it.
Sourdough Starter
From start to finish, the process of creating a sourdough starter will take your about a week. However, it can take up to two weeks for the starter to become active, so it’s okay — you’re not doing anything wrong. This is when the patience comes in.
First things first: what is starter exactly? It’s a live culture of flour and water, which when combined, begins to ferment and cultivate natural yeasts. A little bit of this is added to bread and is what makes it rise.
Contrary to popular belief, commercial yeast is not a part of the process at all. Natural “wild” yeast can be found anywhere, including a bag of flour. So let’s start the process.
What You’ll Need
-3/4 pound jar
-1 bag unbleached all purpose flour (not organic)
-60g wheat flour
-warm water
Day 1: Make the Starter
Mix the whole wheat flour with the warm water in a large jar. Mix it up with a form until it is totally smooth. If needed, you can add more water in to thin out the texture if it is needed. Cover with plastic wrap or a lid. Let it rest in a warm area (75-80 degrees F) for 24 hours.
Mix Everything Up
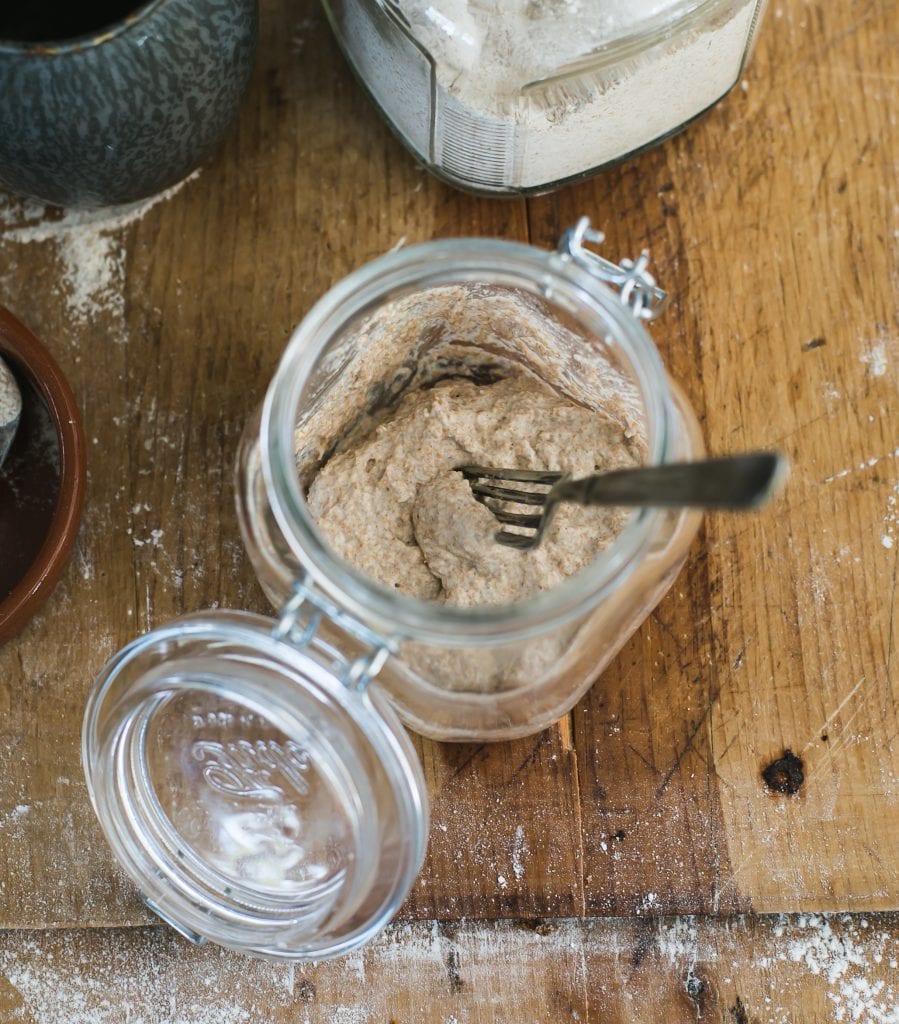
Day 2: Check For Bubbles
Take a look at your starter and check to see if there are any small bubbles forming on the surface. If there are bubbles, it means that fermentation has begun to take place. If you don’t see them, it’s okay, sometimes they dissolve overnight. Leave it for another 24 hours in a warm spot. Also, if you see a dark liquid forming (it’s called hooch), it means that your starter needs to be fed. That’s totally okay, for now, just let it be until tomorrow. Don’t worry if it smells a bit like gym socks.
Bubbles And Hooch Forming
Day 3: Feed The Starter
It is now time to start feeding the starer. Remove and toss out half of the starter from the jar, there should be about 60 grams left. It will be quite stretchy. Add 60 grams of all purpose flour and 60 grams of warm water. Mix it all with a fork until it is completely smooth. The texture will look like thick pancake batter, so you can add more water as needed. Cover it and let it rest for another 24 hours in the warm spot.
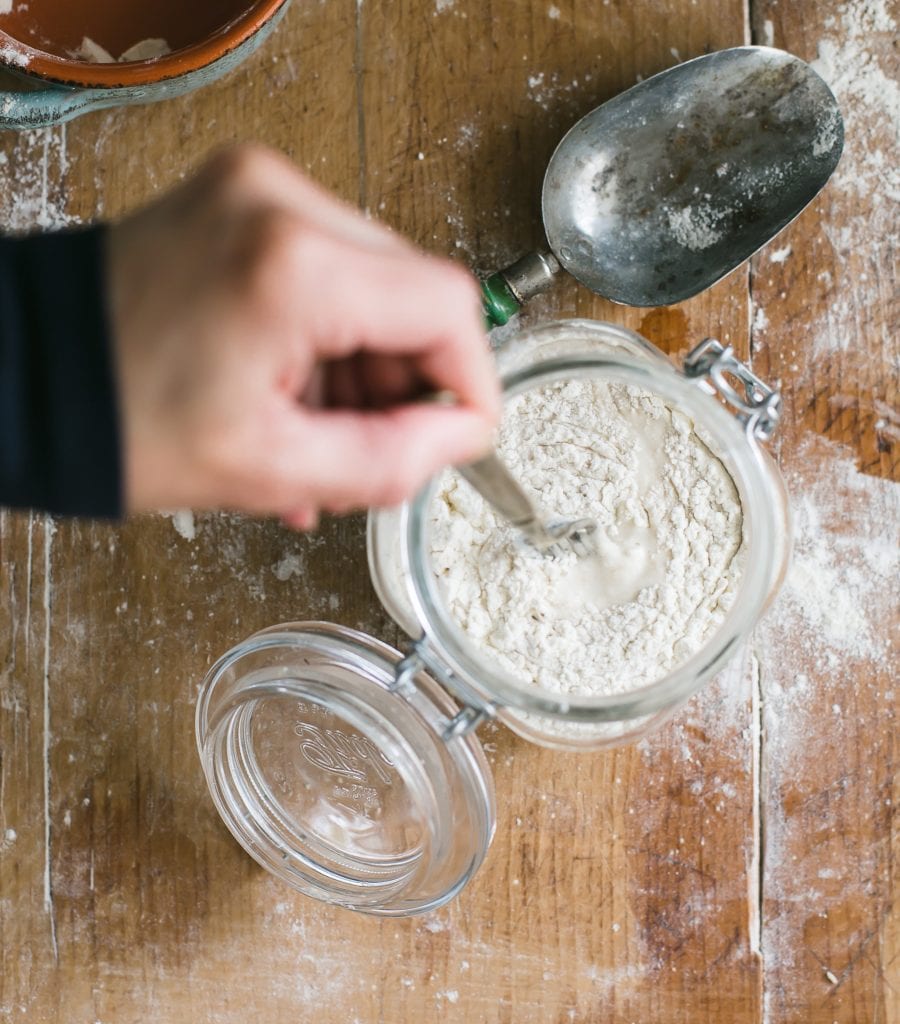
Add More Flour
Days 4, 5, 6: Keep Feeding
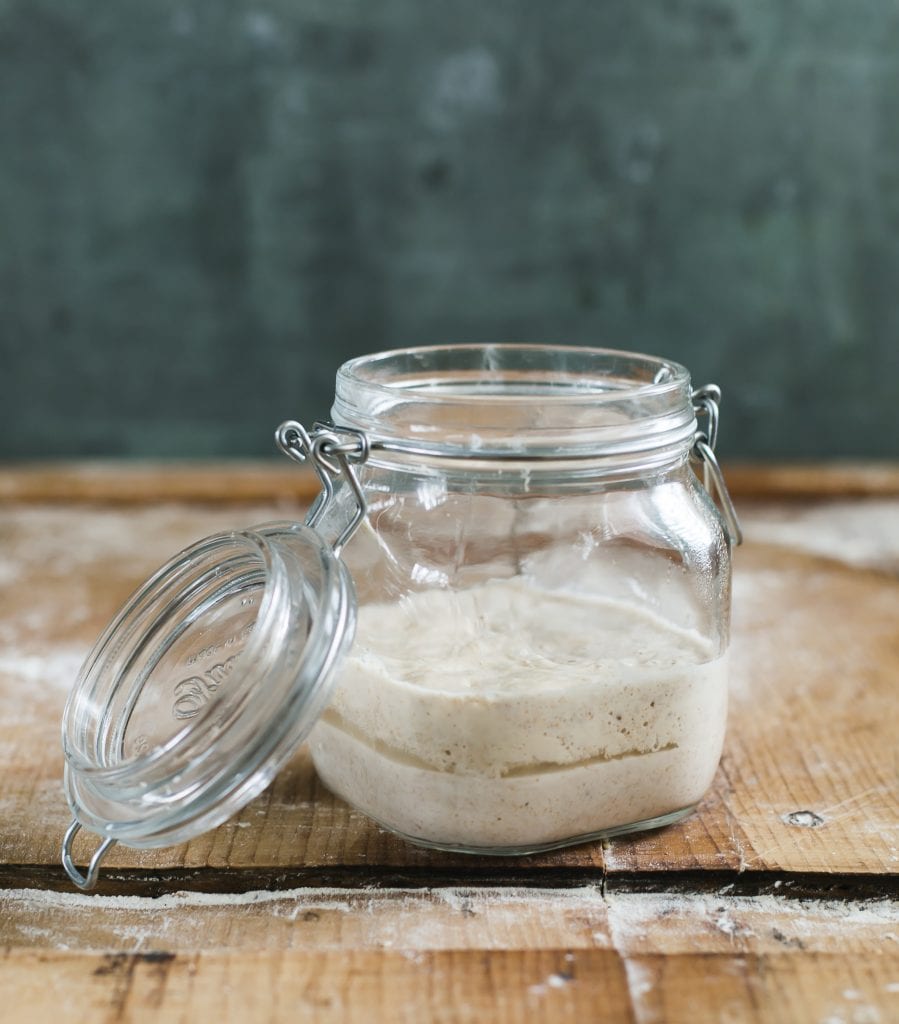
Repeat the same process from day 3. As the yeast develops, the starter will keeping rising and bubbles will continue to form on the top of the surface and throughout the whole jar. As the starter begins to fall, you know that’s when it needs to be fed.
Day 7: You’ve Got Starter
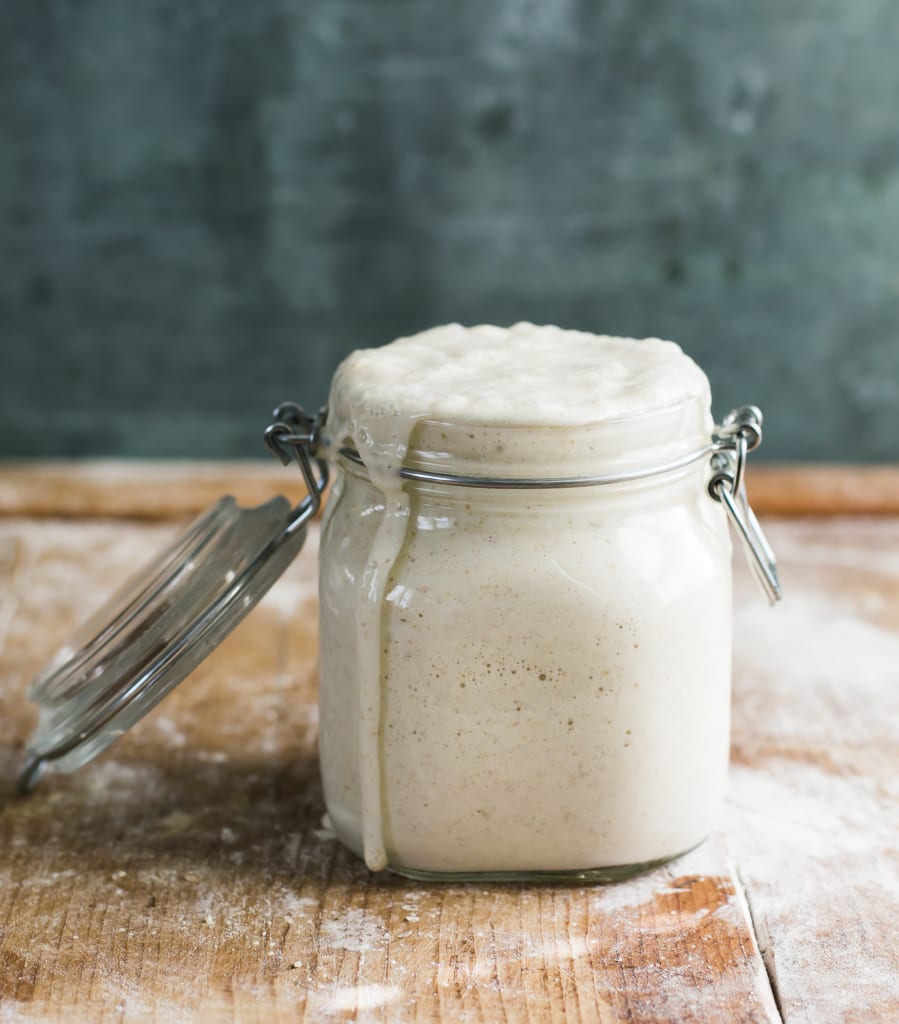
By today, your starer should have doubled. There should be lots of bubbles, big and small. The texture should be fluffy, spongey, and resemble marshmallows. It will now smell good and not like gym socks!
Now it’s time to transfer it into a new, clean har. Of course, you can now name your starter.
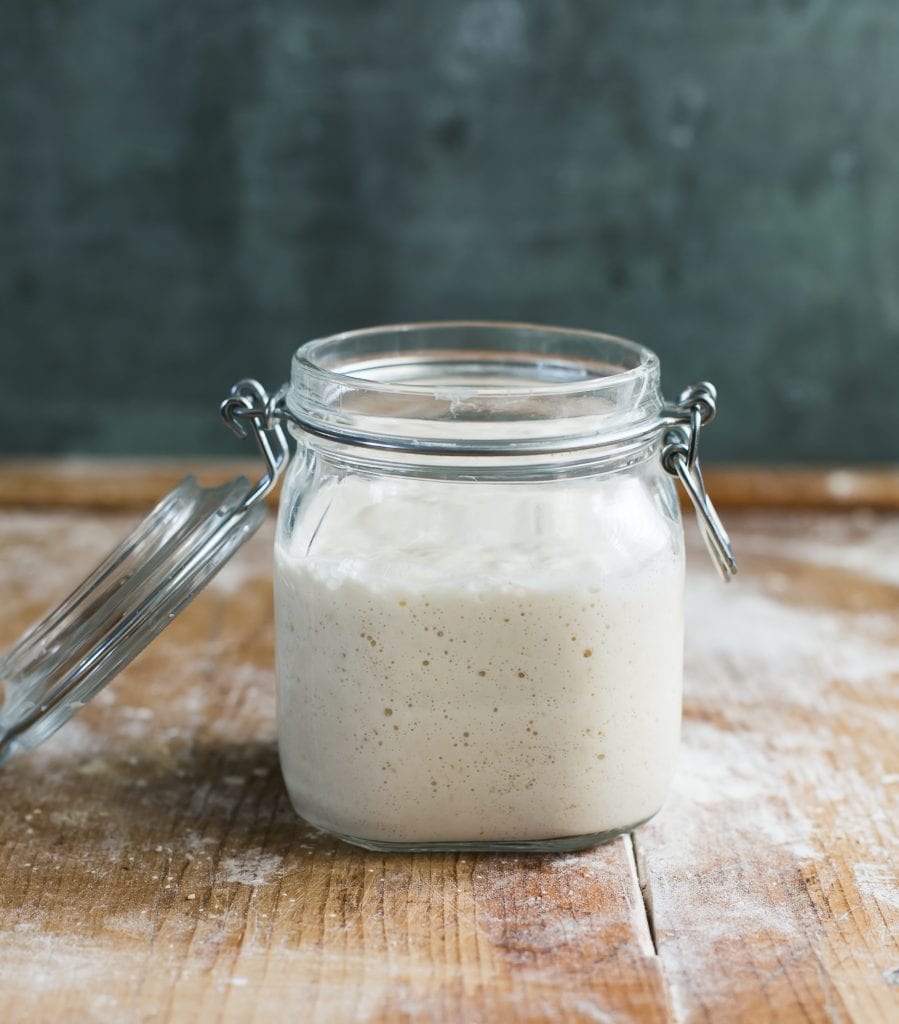
Starter Is Ready